Change Facebook Page to Facebook Place: 2 simple steps
Just like Google My Business, The Facebook Places can be a very powerful directory and a great brand marketing tool for many businesses out there. It will enable Facebook users to share with friends every time they visit your business location by “checking in” to the places listings. As soon as they “check in” at your place, a notification will be posted on their Friend’s News feed, helping your business increase your brand reach. Having Facebook places, will not only enable visitors to check in, but also to write reviews and recommendations about their experience, helping your business to boost your brand rating.
For companies that have a physical location, this could be a great tool to track the people visiting your business and also to increase your brand visibility on social networks.If you already have a Facebook page, here’re 2 straightforward steps to turn your page into a Facebook place and allow people to check in to your location.
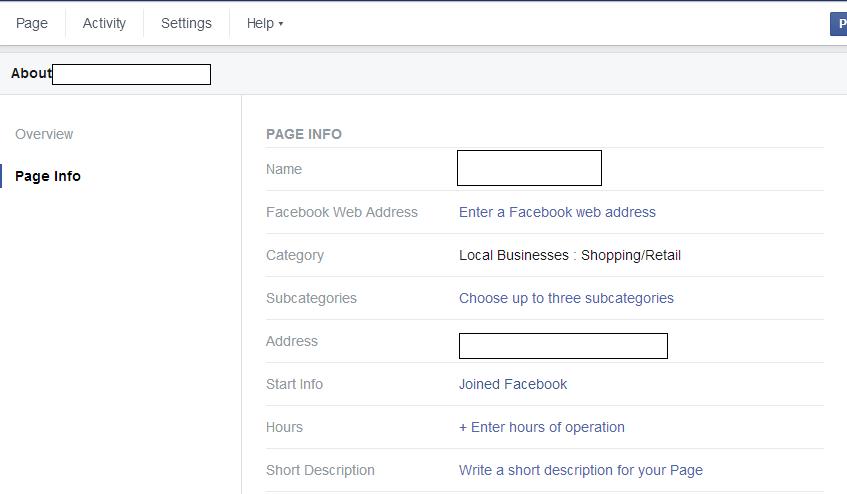
Step 1: Choose “Local Businesses” as your page’s category
The first thing that you have to do is to change your page category to a “Local Businesses” category.
To change your page category, go to About > Page Info > Category and Select “Local Businesses” from the first dropdown menu, then select a more specific category from the second drop down menu.
Step 2: Enter your Address and Details
Add your business address with all the details and click to check the box next to Show map, check-ins and star ratings on the Page.
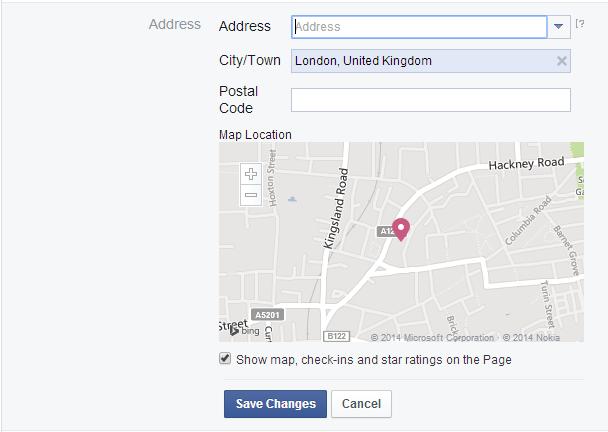
And that is all there is to it. As soon as these changes are done, you will be able to see a map with your location on overview field and “Check-ins” and Reviews will become enabled on your Page.